Saturday, October 25, 2014

Quick and easy soap saver

Christmas is coming!!
This is a cute idea for a gift
With christmas coming here is another great gift Idea! So cute and easy to do. I loved making this pattern since it is something I have not done yet. But I think it turned out really nice :) I had my hubby test it out in the shower tonight and he said he really liked it. He said it was almost better than using a washcloth, to me this is the biggest complement coming from him!! So I shall give this pattern a A++++ ;)
Happy Hooking!
(link below)

Bar soap scrubbie.jpg

Two Faced Bulky Boot Cuffs

This name of these boot cuffs are exactly how they sound! They are two faced boot cuffs :) These are a simple and quick design I came up with. These are very easy and I designed these so you can add 2 colors that will match 2 pairs of your boots (maybe even more!) un-button and flip them so you can change your color. Also make them as tight as you need around your caves!
These are made with super bulky yarn (Lion Brand Yarn)
N hook


Walking on Clouds Adult pattern (Paid)

Christmas Gift Idea!
As a crafter I always wonder; what are some quick and easy projects that I can do for loved ones? These slippers are AMAZING!! They work up really quick and are so beautiful, this would be a wonderful gift for someone that you love. They come in 3 different sizes, 6-7; 7-8; 8-9. They are in my ravelry shop (buy now button) and also found in my Craftsy shop (link below) 

Buy from Ravelry:  Buy from Craftsy here

Sunday, October 19, 2014

Free 0-3 month Spikes & Stripes Beanie pattern!

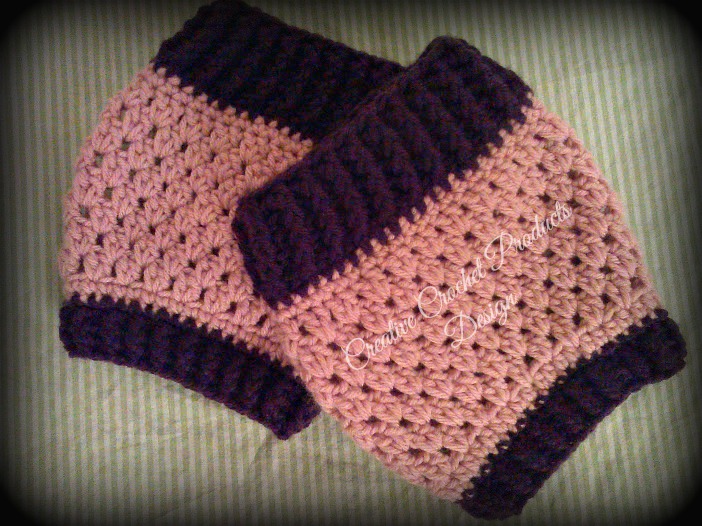
Free 0-3 Month Spikes & Stripes pattern!
Only available on my blog, this is a sample of my full version with all sizes.


This is my first time ever doing a "sample" project to share! I know some wish they where able to test the pattern before buying it, well here it is. If you like it and need the bigger sizes please go to my Ravelry store, all sizes are included on pattern in my shop. 
Happy crocheting


Spikes & Stripes
Beanie
0-3 Months

(in all sizes!)


Materials:
 I hook/5.5mm
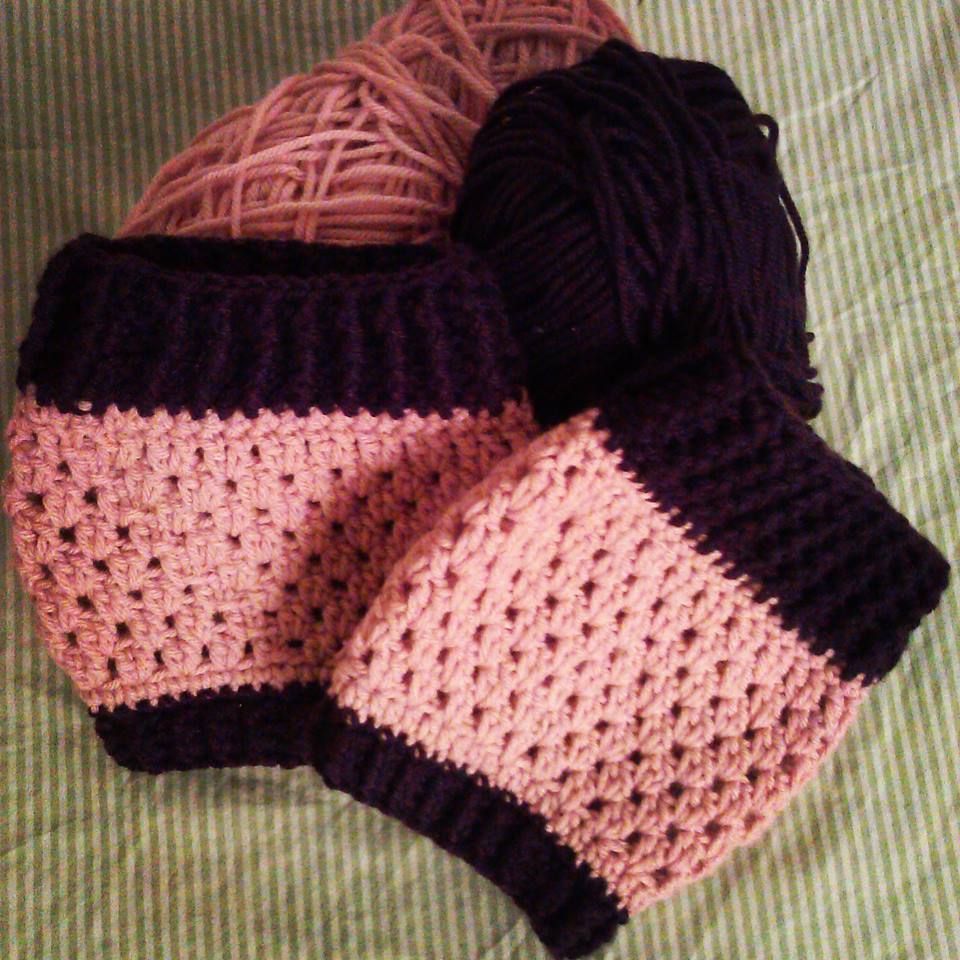
 Worsted weight yarn/3 colors

Stitches used:
Magic circle
Hdc: Half double Crochet
fphdc: front post half double crochet
bphdc: back post half double crochet
hdc spike: half double crochet spike: yo, insert hook in previous stitch below, pull up loop, yo,          pull   through all 3 loops on hook.
change to color A
change to color B
change to color C
Color change is in this order: Color A, Color A, Color B, Color C, Color B then repeat

Special notes:
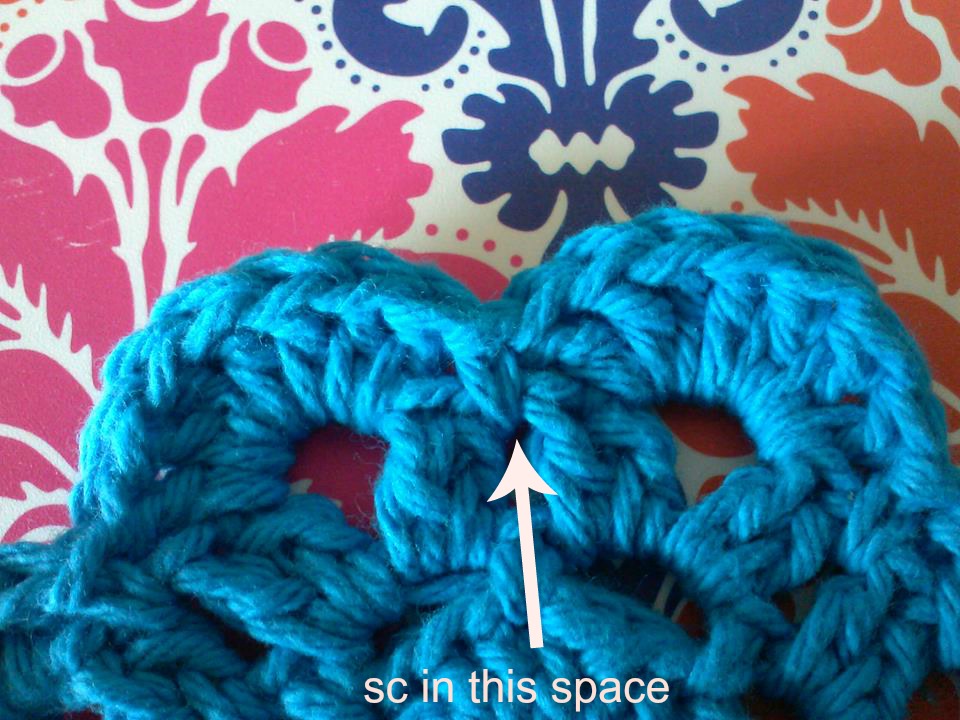
 Always join to first stitch in each round.
 Always work first stitch in the same space as join.

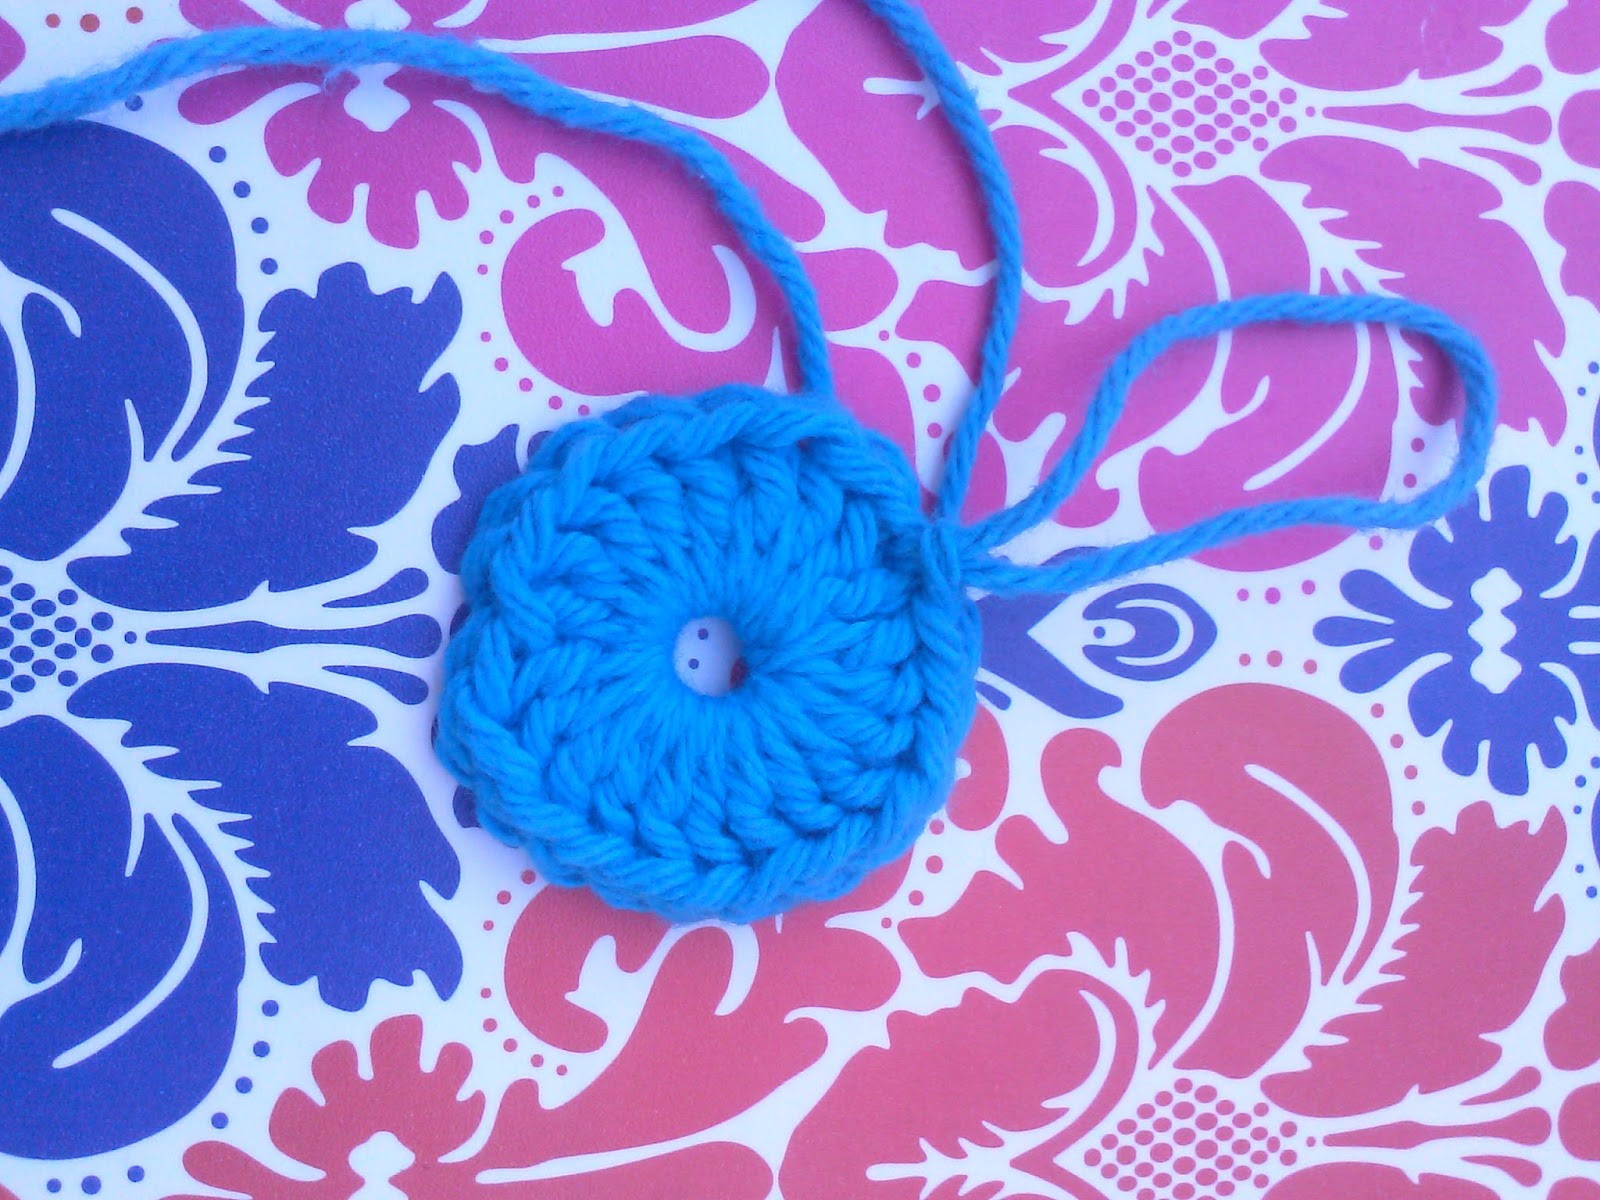
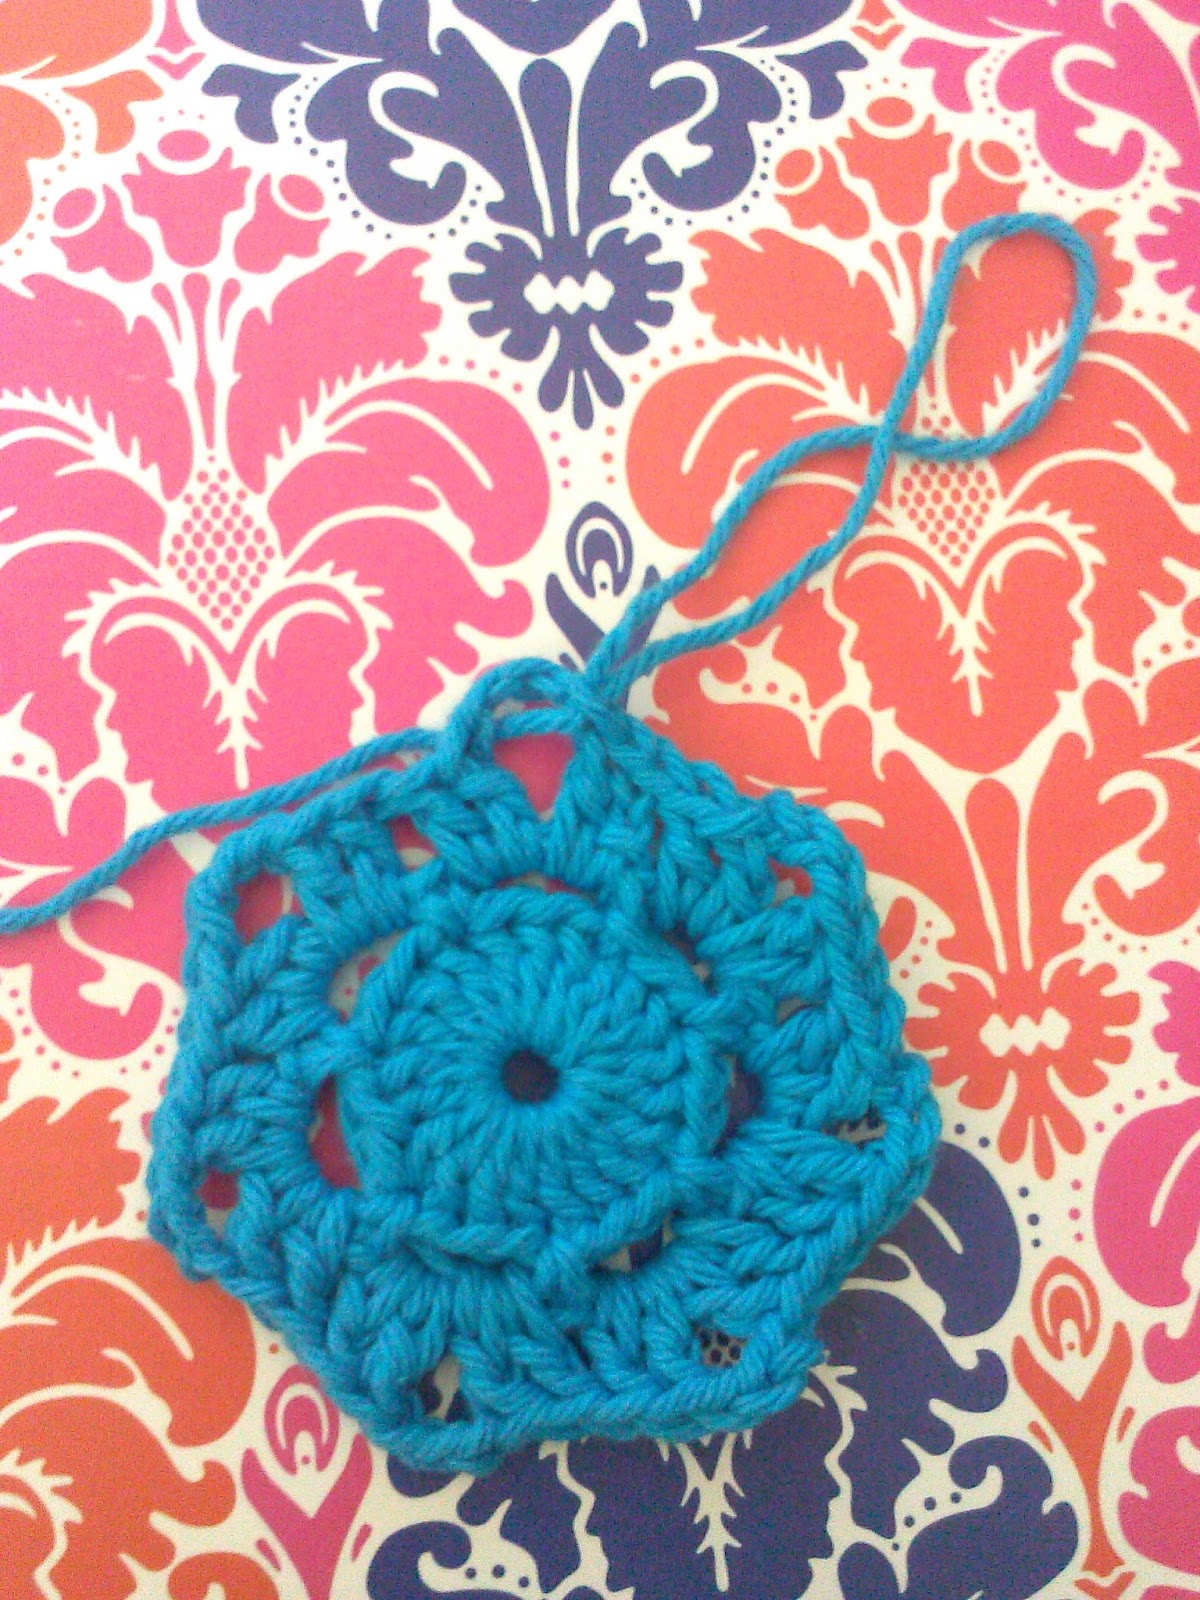
Rnd 1: Color A Magic Circle ch 1, 10 hdc in circle. pull closed. Join (10)

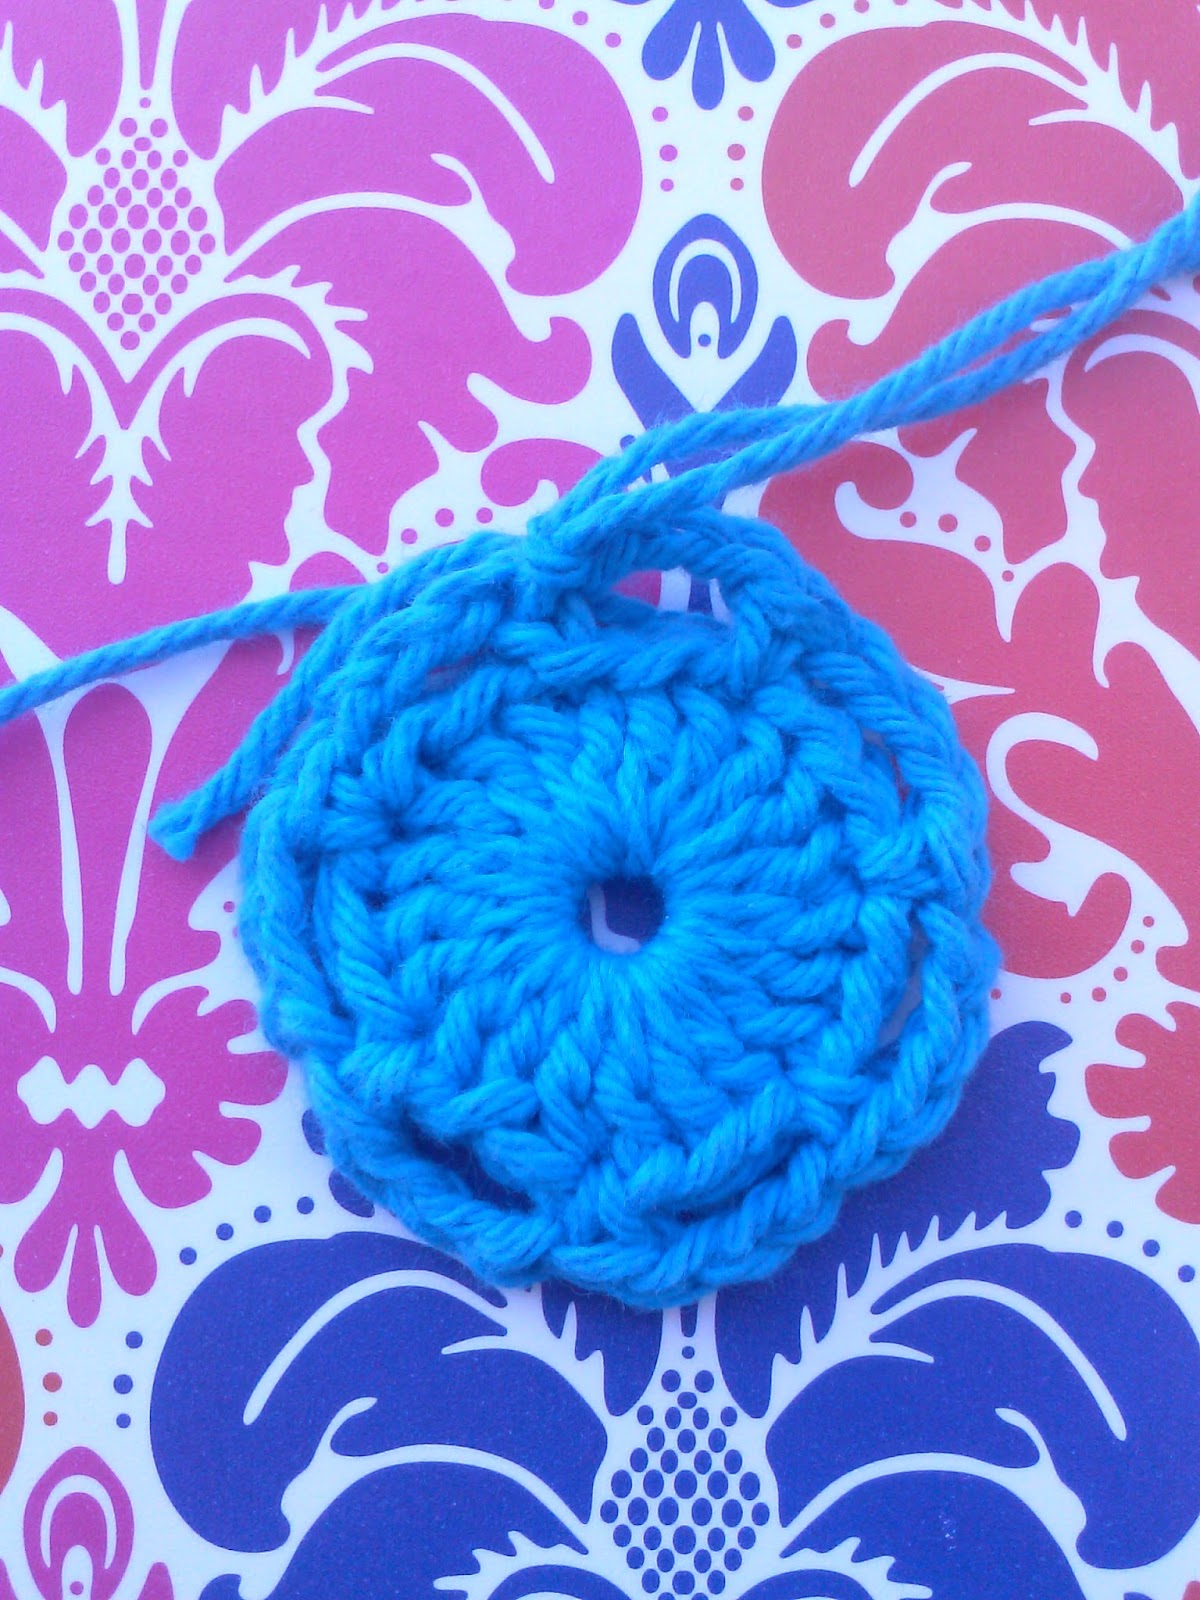
Rnd 2: Ch 1, 2 hdc in each st around. Change to color B. Join. (20)

Rnd 3: Ch 1, (hdc, 2 hdc in next) repeat around. Change to color C. Join. (30)

Rnd 4: Ch 1, (hdc in 2 st, 2 hdc in next) repeat around. Change to color B. Join. (40)

Rnd 5: Ch 1, hdc in each st around. Change to color B. Join (40, 48, 52, 56, 64, 72)

Rnd 6: Ch 1, hdc in next st, hdc spike (hdc in 3 st, hdc spike in next sp) repeat around. hdc in last 2 sp. Change to color C. Join. (40, 48, 52, 56, 64, 72)

Rnd 7: ch 1, hdc in each sp around. Change to color B. Join. (40, 48, 52, 56, 64, 72)

Rnd 8: Ch 1, hdc in next st, hdc spike in next (hdc in 3 st, hdc spike in next sp) repeat around. Change to color A. Join. (40, 48, 52, 56, 64, 72)

Rnd 9: Ch 1, hdc in each st around. Join (40, 48, 52, 56, 64, 72)

Rnd 10: Ch 1, hdc in each st around. Change to color B. Join (40, 48, 52, 56, 64, 72)

Rnd 11: Ch 1, hdc in next st, hdc spike (hdc in 3 st, hdc spike in next sp) repeat around. hdc in last 2 sp. Change to color C. Join. (40, 48, 52, 56, 64, 72)

Rnd 12: Ch 1, hdc in each sp around. Change to color B. Join. (40, 48, 52, 56, 64, 72)

Rnd 13:  ch 1, hdc in each sp around. Change to color B. Join. (40, 48, 52, 56, 64, 72)

Ridge

Rnd 14: ch 1 (fphdc in next st, bphdc in next) repeat around. Join

Rnd 15: ch 1 (fphdc in next st, bphdc in next) repeat around. Join

Rnd 16: ch 1 (fphdc in next st, bphdc in next) repeat around. Join

Finish off and tie in ends!


Saturday, October 18, 2014

Spikes & Stripes Beanie and scarf pattern!


Limited time only!
When purchasing the Spikes & Stripes Hat Pattern you will automaticly get the scarf pattern for free!
No extra clicks, no extra items in the cart, its downloaded as 2 pdfs in the Spikes & Stripes Hat pattern!
$3.00 for the Spikes & Stripes Hat pattern (freebie included) until 10/22/2014 Ends at 11:59pm CST. 
Freebie ends November 1st! 


Click buy now to get this pattern in my ravelry shop! 

                                                                    
This hat pattern comes in ALL sizes! Great for the whole family, and so many different color options!

With a little encouragement from my oldest (pictured above) I made this scarf to go with the hat I made him last week. I just love how this design turned out and so glad to be able to share with the world now! My kids are the greatest when it comes to supporting me and what I do. Maybe its because they get a lot of what I make lol. With the new pattern release I thought I would also run a deal! For a limited time only, you will receive both patterns for the price of the hat AND I also have the hat marked down to $3.00 till WEDNESDAY! Seriously who dont like deals?!?!

Happy Sunday!

Sunday, October 12, 2014

Monday Madness!!

Monday Madness!

50% off! use coupon code "FirstSale" at check out to receive the savings on Ravelry! 


FYI: you can buy both patterns separately for 50% off each! No limit to one per customer
ENJOY! 

Read below if you would like to find out more about me, and the reasons to why I am selling my patterns! This story is my life, and the reasons to why I am crocheting and my unconditional love for my kids. They are my inspiration!!


My story
 7 months ago our lives in this house had changed, not just a little change but a life altering change that we where forced in to. This "battle" that we where drafted into and not by choice. Our daughter (our only girl) had been sick for a month or more and we where not getting any answers, nor getting anywhere with the doctors. Until Febuary 5th 2014. After an hour or so of trying to draw labs from Ashlynn we where advised to get home and pack a big bag, there was no time to waste, we where to be expecting a call with in an hour or so from the doctor directing us on what hospital Ashlynn needed to be rushed to. I was terrified, scared, not sure what was going on, only knowing it was not good. Not the news we wanted to hear. I came home and told mike I needed to talk to him privately (since all 4 kids where looking at me asking what is wrong), we went to the basement and I broke down into a thousand pieces. The only thing keeping me on my feet was mike holding me to his chest. I couldn't find the words, I was hysterical, a mess and mike new it was something big. His words to me was "what ever is going on we will make it through, I love you. We can make it through anything". After getting to the Children's Hospital of Wisconsin in Milwaukee I was told the news that every parent bares to hear. My princess, my only girl, my first born had the "C" word.. Yes cancer! Devastating news, made my knees week, made me sick to my stomach, I couldn't breath, I was still hysterical. There was so much being said, so many things we had to learn, blood transfusions and platelet transfusions we where getting right away. I sat in the chair by her bed side with my yarn and hook and I realized I had no inspiration let to crochet, I couldn't find my passion for it nowhere. Like it died inside when we found out. I have not had a "good" nights sleep in so long, I believe that I wont till we are finished with all treatments and she is able to say " Im cancer free, im done with chemo, i got my port out, and I am going to enjoy being a regular kid again."
  For a while with treatment I couldn't pick up my hook and finish my projects I started, I couldn't design a new pattern for the life of me. She is FINALLY on her last (and longest (1 1/2 years)) round of chemo. We made it!! And I have found my inspiration again. She is doing amazing right now, taking to  ttreatmentwell, and being a kid again just with a little less hair ;) but something that most don't know about us is the stress this will put on you. All the trips back and forth, the countless dollars you put into gas just to get there, times where you have no choice but to set aside the bills and use that money to fix the only good working vehicle so she is able to make it. The stress that Mike is feeling as he is the only parent working in our household of 6, I cant even imagine! Through these months I have found myself wondering if "pattern selling" will work for me. It has to, I wont give up. I feel the need to help in this house any way I can. Ashlynn has been my motivation, my kids saying how much they love what I do, Mike.. he has had a hard time believing I am able to but I think he is coming around more and more. I would like to prove to him that this hobby and passion of mine will help us, I AM DETERMINED!
  We have our own personal hero in our house. Her name Is Ashlynn and she is 7 years old <3 She is my world, heart, sole and the reason behind what I am doing. Crochet on Friends!

Tuesday, September 30, 2014

Life!

For the last week or more now I have been working on a few new Patterns (4 to be exact). I have been so busy trying to finish up these patterns I am so close to finishing I can see it lol. But in the mist of all this I found a hat stored away and since it was really chilly when the kids left for school this morning I let Keegan wear it. He is my boys boy, he loves skulls and zombies so I thought he would like the hat.
This is one of those things I made and never wrote the pattern down, but I think the skull pattern is somewhere on my pinterest. Its amazing the things you may forget about!

Keep an eye out for some new releases! I have all kinds of things planed and cant wait to share <3

Friday, September 19, 2014

Free Flower Coaster Pattern!

I thought It was time to write up this flower I made! I use it for a coaster, even the simple things should be cute right? I have to do some more colors for spring time. I really should be making Halloween one's, maybe one in the near future.


Flower Coaster Pattern
flower coster8.jpg
Materials needed:
size H hook
sewing needle
a ball of cotton yarn
scissors


Stitches used:
Magic Circle
sc: single crochet
dc: double crochet
slst: slip stitch


Special Notes:
Join: ALWAYS join to first st made in the round unless stated other wise.
Starting stitch is ALWAYS worked in the same space as join.

CAM03324.jpg

Rnd 1. Magic circle, ch 2, 20 dc in circle. Pull tight (not too tight so it will bunch up) Join.


CAM03325.jpg

Rnd 2. ch 4 (counts as sc and ch 3 space), sk 2 st sc in next, [ch 3, sk 2 st and sc in next] repeat 4 more times. ch 3, join to first ch made.


CAM03327.jpg

Rnd 3. [ch 2, dc, ch 3, 2 dc] in same ch 3 sp. [2 dc, ch 3, 2 dc] in each of the ch 3 sp. join.


flower coster5.jpg

Rnd 4. ch 2, 6 dc in same ch 3 sp, sk 2 dc and sc in space. [7 dc in ch 3 sp, sk 2 dc and sc in sp] repeat around. Join. Fasten off.


Stretchy Boot Cuff Pattern (Free) Adult Sm, Med, Lg Sizes


I am still ALIVE!! LOL. Really tho, I have been so busy for these last few weeks I haven’t really had a chance to crochet and quite frankly I miss it. With the winter months approaching I have A LOT of work to do and I don't know when I will find time. I have been trying to kick this illness that has struck me for the last week.. I am now just a cougher (I swear I should have great abs by the time I kick it for good). It took me a good couple of days to construct this pattern and write it. I was struggling to finish this one with how awful I was feeling. But I got it finished with 3 different sizes. This pattern has not been tested so if there are flaws please let me know and I will fix them :) remember Share this free pattern with others and link back to my blog! Thanks for looking and ENJOY! (the link below is to the pattern on my drive, easier printing)

Stretchy Boot Cuff Pattern
(Adult sizes, small, medium, large)


bootcuffs.jpg.jpg


Materials used:
size H hook
needle (for tieing in ends)
worsted weight yarn


Stitches used
sc: single crochet
dc: double crochet


Special notes:
Join: always join to first STITCH not the ch in each round.


Rnd 1. ch (42,44,46), join to form a circle *careful not to twist the chain*


Rnd 2. Ch 1, sc in same sp as join, sc in each ch sp. Join. (42,44,46)


Rnd 3. Ch 2, dc in same sp as ch 2, [sk 1 sp, 2 dc in next] repeat around. Join. sl st to space between groups of 2 dc.


Rnd 4-10. Ch 2, dc in same sp as ch 2, [sk dc group, 2 dc in sp] repeat around. join.


Rnd 11. ch 1, sc in each dc. Change color and join.
Rnd 12. ch 1, hdc in same sp as join and every st throughout. Join.


Rnd 13-16. ch 2, [fpdc in first st, bpdc in next] repeat around. Join.


Rnd 17. Ch 1, [fphdc around fpdc, bphdc around bpdc] repeat around. Join and fasten off.


Bottom of boot cuff
Rnd 1. Join to any ch sp on opposite side that you were previously working on (bottom of boot cuff/starting ch), ch 1, sc in same sp as ch 1 and throughout each ch sp, join.


Rnd 2. Ch 1, [fphdc in first st, bphdc in next] repeat around. Join.


Rnd 3. ch 1, [fphdc around fphdc, bphdc around bphdc] repeat around. Join. fasten off.


bootcuffs2.jpg

Tuesday, September 2, 2014

FREE Frankenstein Hat Pattern Child/Teen size!

Free Frankenstein Hat pattern!! 
I know I cant be the only one gearing up for Halloween right?!?! I love the idea of all the little cute monsters running around, so I thought I would pull together this cute hat. I have not had time to work up baby sizes yet but hoping to do so soon! I have a list of things I need to do including putting up and adult pair of my "walking of clouds" booties. Any way.... Here are a few pictures that I have of the hat! I didn't take progress pictures this time. Be sure to share this pattern with others, sharing is caring ;) 
same pattern below


frankenstein  hat
(child/teen size)
fsh2 edit.jpgfsh3 edit .jpg

Materials:
G hook (4.25) for hat
1 ball of green yarn (worsted weight)
1 ball of black yarn (worsted weight)
white yarn (worsted weight)
Needle for sewing in ends
scissors

Stitches used:
Magic Circle
dc: double crochet
hdc: half double crochet
sc: single crochet
dtr spike: double treble crochet spike stitch (click for example if your not familiar with the spike stitch
sp: space
st: stitch
ch: chain

Special notes! PLEASE READ!
Always join to first stitch made in that round unless told otherwise.
Always work first stitch in each round in the same space as join.

Base of hat
Rnd 1. Magic circle, ch 2, 10 dc in circle. Pull tight. Join to first dc made. Ch 2 (10)

Rnd 2. 2 dc in first stitch and 2 dc in each stitch around. Join. ch 2 (20)

Rnd 3. 2 dc in first stitch, 1 dc in next (2 dc in same st, 1 dc in next) repeat all the way around. Join, ch 2 (30)

Rnd 4.  2 dc in same sp, 1 dc in next 2, (2 dc in same sp, 1 dc in next 2) repeat around. Join, ch 2 (40)

Rnd 5. 2 dc in same sp, 1 dc in next 3, (2 dc in same sp, 1 dc in next 3) repeat around. Join, ch 2 (50)
Rnd 6. 2 dc in same sp, 1 dc in next 4, (2 dc in same sp, 1 dc in next 4) repeat around. Join, ch 2 (60)

Rnd 7. 2 dc in same sp, 1 sc in next 5, (2 dc in same sp, 1 dc in next 5) repeat around. Join, ch 2 (70) (go to Rnd 10 for CHILD SIZE)

Rnd 8. 2 dc in same sp, 1 dc in next 6, (2 dc in same sp, 1 dc in next 6) repeat around. Join, ch 2 (80) (TEEN SIZE)

Rnd 9. dc in same sp and each sp around. Join, ch 1(70, 80)

Rnd 10. hdc in same sp and next 2, (ch 1, skip st hdc in next 4) repeat around. Change color to green. Join. ch 2.

Rdn 11. dc in same sp and next 2, dtr (spike) in missed stitch, (dc in next 4 sp, dtr spike in missed stitch from previous round) repeat all the way around. Join, ch 2 (70,80)

Rnd 12-(17,18). dc in each st around. Join, *ch 2 (*till last round 17,18 then ch 1*)

Rnd 18,19. sc in same sp and each around. Join. Fasten off.


Eyes:
Rnd 1. Magic circle, ch 1, (hdc, 2 sc, hdc, 3 dc) 2 times in circle, pull tight. Join to first st. ch 1

Rnd 2. sc in same sp, sc in next 3 sp, (2 sc in next 3, sc in next 4 sp) repeat around. Join. fasten off.

Center of eye:
You can use a button or..
Magic Circle, ch 1 6 sc in circle, pull tight. Join to first sc.
Attach to white eye

Screws:
Rnd 1. Magic circle, ch 1, 6 sc in circle, pull tight. join. ch 1
Rnd 2. 2 sc in each st, join. ch 1
Rnd 3. (Back Loop Only for this rnd) sc in each st. Join. ch 1.
Rnd 4. *sc2tog all the way around.
Rnd 5-7. sc in each st around.
fasten off.

assemble the way you would like. Sew on mouth and stitches to your hat any way you would like. I made my hat a smile :)

Monday, August 25, 2014

Walking on Clouds Free booties pattern!

3-9 Months Walking on Clouds Pattern NOW AVAILABLE 
Please look below


I am so excited about this pattern! I have been working on trying to perfect it for so long now and I finally was given the inspiration to do so. I love everything about these booties, they look so adorable :) The picture above was provided by Christin, you can visit her facebook page Jolee Michael Creations She did an amazing job. This is a super easy pattern once you get the hang of the stitches, I did modify the half double crochet so this pattern is not for beginners. ENJOY!

you can open the pattern here too

Update 1/23/2015

3-9 months pattern!!!!
I have had so much negative feedback on these slippers being taken down, I have been saying forever that I am going to replace it with a different size, a smaller size since I am in the middle of making a lot of different sizes and selling them in groups. I have been so busy with life that this pattern has been put on the back burner. A few months ago I made about 6 pairs of these baby sized ones and I LOVE how cute and little they turned out <3 I hope I am able to make some happy, I know not everyone will be but I cant please everyone and myself.

Baby walking on clouds pattern
Materials you will need:
G hook/4.25mm
gauge: two rows=7/8"
            two cl= about 1"

Stitches used:
cl: cluster: *Yarn over the hook (yo) and insert your hook in the st directed, yo the hook and pull the wrapped hook through the center of the space, carrying the wrapped yarn through the stitch* repeat 2 more times. yo and pull through all 7 loops on hook.
dc: double crochet
slst: slip stitch
2cltog: Crochet 2 clusters together (14 loops on the hook)

magic circle, ch 1, *cl, ch1* repeat 4 times in magic circle and pull tight to close. Join at beg cl st, slst to ch 1 sp,
2. ch 1, *cl, ch 1, cl, ch 1* in each ch 1 sp around. Join. slst to ch 1 sp
3. ch 1, * cl, ch 1* in each ch 1 sp around. Join. slst to ch 1 sp
4-5. repeat rnd 3 *on round 5 DO NOT SLST TO CH 1 SP!
6. ch 2, *cl, ch 1* in 6 ch 1 sp,dc in last cl space. turn
7. ch 2, *cl, ch 1* in same sp as the ch 2 (this one will be worked in the "top" of the previous cl) repeat * to *  5 more times, dc in last ch 2 sp. turn.
8-9. repeat round 7
10. ch 2, cl in same sp as the ch 2 (this one will be worked in the "top" of the previous cl), *2cltog* 2 times, cl in next ch 1 sp, dc in last ch 2 sp.
      fold ends together and sew closed for the heal.
      the slipper should measure 3 7/8" long and 2 1/8" wide at the toe folded in half.
If there are any questions or things I have missed please leave a comment or email me at creativecrochetproducts@gmail.com I will fix them as soon as I can.

You are able to sell all items you make but please make sure to share my blog as to where you received the pattern. All rights to this pattern are reserved to Creative Crochet Products. Thank you for choosing my designs!


Walking on Clouds

Puff stitch booties.jpgpuff baby botties 2.jpg