Showing posts with label free pattern. Show all posts

Thursday, August 20, 2015

Ring around the cup Cozy

It's almost that time of year again.. fall, football season, all fall sports for children and what's going to the practice or game with out your drink? I know I use mine throughout the day and have many different styles of them, some for coffee and some for my iced beverage's! I absolutely love them.

I was sitting out side this morning with my coffee trying to absorb the little bit of sun and the crisp cool air. Today was our second day of 70 degrees and honestly I am not complaining at all! I love the cool air after being in the upper 80's for what seemed to be weeks. I have been having these templates sitting around and really wanted to put them to use (Check below for the link to the cup cozy template). So the first thought was the packers I'm not a fan of football but everyone here in Wisconsin is a die hard packer fan.. seriously.. Im talking Sundays there dressed head to toe in packer gear, when the game starts the stores are empty just about. I LOVE Sunday shopping lol! I thought I would make some cool looking cozys to take to the game for bought beverages or simply sitting at home showing there support to there favorite team. Plus I am in love with the spiral affect of the cozys. It gives it a little edge it also stretches a little to hug cup ;)

The color options are endless, match them to your favorite boots or purse, color coordinate them to your favorite sports team, your children's teams, or you can go funky and use a ton of different colors!

Free cup cozy template by Sheri Goad at Frogging along


You may sell any finish item, if you sell online please give me credit for the design. You may not under any circumstances sell this pattern, or claim this pattern as your own. This is a one of a kind Creative Crochet Products Design. 
Feel free to share this link to my blog & happy Crocheting!
Ring around the cup
Cozy


 By Creative Crochet Products
Materials:
G/4.50mm Hook
Worsted weight yarn (red heart, I love this yarn, etc)
Yarn needle
Stitches used:
hdc: half double crochet
sp: space
Special notes:
You will always join to your first stitch made in each round. Please follow the pictures if you don't understand the written directions, they are their to help you
.

Thursday, July 30, 2015

Crochet Instagram! Free Pattern


    I have been sitting on this pattern for a little while. It was suppose to be typed up a while ago but sat in a folder being neglected. poor thing! There is a flaw on the picture (if you haven't noticed it already!) my rainbow stripes where on there the wrong way. Make sure you check before you start attaching it on to your cozy! I didn't realize it till it was too late, so I thought I would worn you about it. Plus I stayed up late doing this one and writing a hard copy and again tonight I have stayed up till 1 am getting it typed up and saved and ready to be published. 
    Find me on facebook or instagram to share your finished item, I love seeing others work from my patterns :) 

    HAPPY CROCHETING!

Instagram iPad cover


Materials:
* G/4.5mm hook
* E/3.50mm hook
* 7 colors of worsted weight yarn
  ivory; brown; black; yellow; blue; green; red

Stitches used:
*  hdc: half double crochet
*  hdc2tog: half double crochet 2 together
*  sc: single crochet
*  sc2tog: single crochet 2 together
* magic circle
*BLO: back loop only


Special notes (MUST READ):

*  You will ALWAYS JOIN to your first st (stitch) made in each round!
*  You will ALWAYS start your first stitch in SAME space as your join!

I will NOT remind you throughout the pattern. it is stated here so I don’t have to repeat it. If you are not able to follow the special notes I don’t think this pattern is right for you.
~~~~~~~~~~~~~~~~~~~~~~~~

I love seeing finished items! please feel free to share with me on social media! Don’t forget to like my page for future giveaways

If you have any questions or concerns please email me at creativecrochetproducts@gmail.com 

Thursday, April 30, 2015

ring around the rug

  I have been wanting to crochet up a rug for a little while now. I thought today I would "attempt" to make a rug, I grabbed a few balls that I thought I would never use (Im not a big fan of scratchy yarn) and I picked up a few bigger crochet hooks (P&Q is what the pattern calls for!). I sat down with my hooks and yarn for about 2 hours and had it finished.
  I made it just big enough for your bathroom or your kitchen sink. With working 4 strands of yarn together can you imagine how soft this would feel under your feet? My piggys liked them :)

(my nail polish color is Randi it girl by Julep, Im totally in love with there colors and all the different colors they have to choose from) Since my daughter was sick we have gotten a monthly box from them, Its our own little way of keeping happy every month. Its something special for her and I, something that we can do together. So far we have gotten quite a lot so far. 

I hope you all enjoy this pattern.

Ring around the rug
By: Creative Crochet Products
Materials:
I used 4 colors of red heart yarn
you can use any color combo that suits you!
HOOKS; P(11.5mm) & Q(15.75)
Stitches Used:
Ch: chain
Sc: single crochet
Hdc: half double crochet
Dc: double crochet
Sk: skip
Special Notes:
1.Always join to first stitch made.
2.always work your first stitch in joining space, unless specified otherwise.
A little tip from me to you: I usually try to find my yarn with a tail (an end coming out the center of the ball) it keeps things neater but you could always toss all the balls you're working with in a thirty-two tote or a basket. Don't pull a big pile of yarn out, it could get tangled easy.
Measurements:
27”x16”

P hook:
Rnd 1. ch 17, 2 hdc in 2nd ch from hook, hdc in next 14, 5 hdc in last ch sp (now working on the un-worked side of the ch (working left)), hdc in next 14, 3 hdc in same sp as the first 2 hdc. Join. (38)
Rnd 2.  ch 1, 2 hdc same sp as join, 2 hdc in next, hdc in next 14, 2 hdc in next 5 sp, hdc in next 14 sp, 2 hdc in last 3. Join (48)
Rnd 3. ch 1, hdc in same sp, *2 hdc in next, hdc in next* repeat 1 more time, hdc in 14, *2 hdc in next, hdc in next* repeat 4 more times, hdc in 14, *2 hdc in next, hdc in next* repeat one more time, 2 hdc in last sp. Join (58)
Rnd 4. ch 1, hdc in same sp, hdc in next, *2 hdc in next, hdc in next 2* 1 more time, hdc in 14, *2 hdc in next, hdc in next 2* repeat 4 more times, hdc in 14, *2 hdc in next, hdc in next 2* repeat 1 more time, 2 hdc in last sp. Join (68)
Rnd 5. ch 3 (this is your first dc), dc in next 2, *2dc in next, dc in next 3* repeat 1 more time, dc in next 14, *2 dc in next, dc in next 3* repeat 4 more times, dc in 14, *2 dc in next, dc in next 3* repeat 1 more time, 2 dc in last sp. Join (78)
Rnd 6.  ch 3 (this is your first dc), dc in next 3, *2 dc in next, dc in next 4* repeat 1 more time, dc in next 14, *2 dc in next, dc in next 4* repeat 4 times, dc in 14, *2 dc in next, dc in next 4* repeat 1 more time, 2 dc in last sp. Join  (88)
  
  At this point your rug might be kind of bunching up and after the last few
                                 rows it will “relax” more.

Rnd 7. ch 1, sc in each sp around. Join (88)
Rnd 8.  ch 4 (this is your dc and ch 1), *sk next, Dc in next, ch 2* repeat 3 more times, *sk next, dc in next, ch 1* repeat 10 times, *sk next, Dc in next, ch 2* repeat 10 times, *sk next, dc in next, ch 1* repeat 10 times, *sk next, Dc in next, ch 2* repeat 5 more times. Join to the 3rd ch of beg dc.
Rnd 9.  ch 1, 2 sc in same sp as join, 1 sc in next ch 1 sp, *sc in next dc, 2 sc in ch 2 sp* repeat 4 more times, 2 sc in ch 1 sp and 2 sc in next 9 ch 1 sp, *sc in next dc, 2 sc in ch 2 sp* repeat 10 more times, 2 sc in ch 1 sp and 2 sc in next 8 ch 1 sp, *sc in next dc, 2 sc in ch 2 sp* repeat 5 more times. Join
Rnd 10.  ch 1, sc in each sp around. Join
Switch to Q hook
Rnd 11.  ch 1, cs around entire project. Join and fasten in ends!


Sunday, March 8, 2015

The amazing "MikeMitts"!

To explain a little about these MikeMitts, These where made for a special man in my life who has been put through a lot these last few months and with many more hurdles ahead of him. He was in a serious snowmobile accident and was stranded outside in sub-zero temperatures and ended up getting frostbite on his hands and feet. This week he underwent his first amputation to his hands. So I thought I would do something nice for him and after talking to my cousin for a little while she told me about how he would like something for his hands, they get cold at night and he would love to get a pair of mitts. So I thought I would put my imagination to work. I came up with these adult size mitts for amputees, 
This man is a inspiration to me, to his wife, daughter, family and friends. Even after all that has happened he still has his sense of humor, still cracking jokes and is caring a smile with him. Life is going to be tough for him, my aunt and cousin for a while. They will find a way to push forward as we always have. They have so much love and support from everyone one and I am happy to help in any way I can. If you are looking to help, the family has set up a donation page in his honor Give Forward (Mike Rich) 
 These MikeMitts are extra special to me considering he named the pattern (yes you heard me right, he named the pattern). I gave him the option to name it if he would like to name it or not and he did! Oh how I cant wait to see my family, hug them and remind them how much I love them.. 


Materials:
*worsted weight yarn (I used Red Heart with love and I love this yarn at hobby lobby)
*H/5.00mm & I/5.50mm hook
*Yarn needle to tie in ends when finished

Stitches:
Magic Circle
Hdc: Half Double Crochet
Fphdc: Front post half double crochet
Bphdc: back post half double crochet
Fpsc: Front post single crochet
Bpsc: Back post single crochet

Special notes:
** Always join to first st in each round, and ALWAYS work your first st in the same sp as join in each round unless stated otherwise.** Your front post with be worked in a front post. back post in back post. etc..

WITH I HOOK
Rnd 1: Magic Circle, ch 1, 11 hdc in circle, pull tight to close. Join (12)

Rnd 2: ch 1, 2 hdc in each st around. Join. (24)

Rnd 3: ch 1, hdc in each sp around. Join. (24)

Rnd 4: ch 1, *hdc in next 3, 2 hdc in next* repeat around. Join. (30)

Rnd 5: ch 1, hdc in each space across. Join. (30)

Rnd 6: ch 1, hdc in each space across. Join. (30)

Rnd 7: ch 1, hdc in each space across. Join. (30)

Rnd 8: ch 1, hdc in each space across. Join. (30)

Rnd 9: ch 1, hdc in each space across. Join. (30)

Rnd 10: ch 1, hdc in each space across. Join. (30)

Rnd 11: ch 1, hdc in each space across. Join. (30)

WITH H HOOK
Rnd 12: ch 1, fphdc in first, bphdc in next, *Fphdc in next, bphdc in next* repeat around. Join. (30)

Rnd 13: ch 1, fphdc in first, bphdc in next, *Fphdc in next, bphdc in next* repeat around. Join. (30)

Rnd 14: ch 1, fphdc in first, bphdc in next, *Fphdc in next, bphdc in next* repeat around. Join. (30)

Rnd 15: ch 1, fphdc in first, bphdc in next, *Fphdc in next, bphdc in next* repeat around. Join. (30)

Rnd 16: ch 1, fpsc in first, bpsc in next, *fpsc in next, bpsc in next* repeat around. Join. (30)

FASTEN OFF


Friday, February 27, 2015

Finger crochet cowl pattern with photos

Oh my goodness I am back into the world of technology! I was finally able to get a computer (Since mine broke, that's life right). I have so many patterns to now get caught up on *12 to be honest*.. Yeah it is going to be a little while but Please keep your eye out for my new patterns! Please be sure to keep an eye on my Facebook page Creative Crochet Products for all my updates on patterns, pattern testers and current projects! I will be trying to do more link blasts too, weekends mostly.


Now on to more pressing matters.. this amazing finger crochet! I dont know how many people have tried this finger crochet but it is the same thing as crocheting with a hook, but using your fingers! This is amazing and I will be doing more things soon.
Also please remember you are crocheting the same way as you would with a hook. The only difference is your hook is on your hand!
**PLEASE NOTE: THERE IS A LINK TO FIBER FLUX VIDEO TUTORIAL, SHE IS A GREAT DESIGNER! I WILL HAVE MANY PHOTOS AND AS MUCH DIRECTIONS AS I CAN**
Fiber Flux Blog & Video of 'How to Finger Crochet' (click me!)


Free Finger Crochet Cowl 
By Creative Crochet Products

Materials:
Super chunky yarn 2 balls (I Used lion brand super chunky yarn)
yarn needle 
YOUR FINGERS!

Stitches used:
Ch: chain
Sc: Single Crochet
Hdc: half double crochet

Special notes: MUST READ!!
ALWAYS work your first st in same sp as join unless specified otherwise
Join: Always join to first st made unless specified otherwise 


 Start your ch (you can use any finger that
you feel most comfortable with, I used my first
and middle finger) 


 Row 1: ch 26, (careful not to twist the chain) Join to first ch made.


Row 2: ch 1, sc in each sp across (please refer to Special notes at the beginning of the pattern). Join. (26)


Row 3-17. ch 1, hdc in each sp across. Join. (26)

Row 18. ch 1, sc in each sp across. Join. Fasten off.

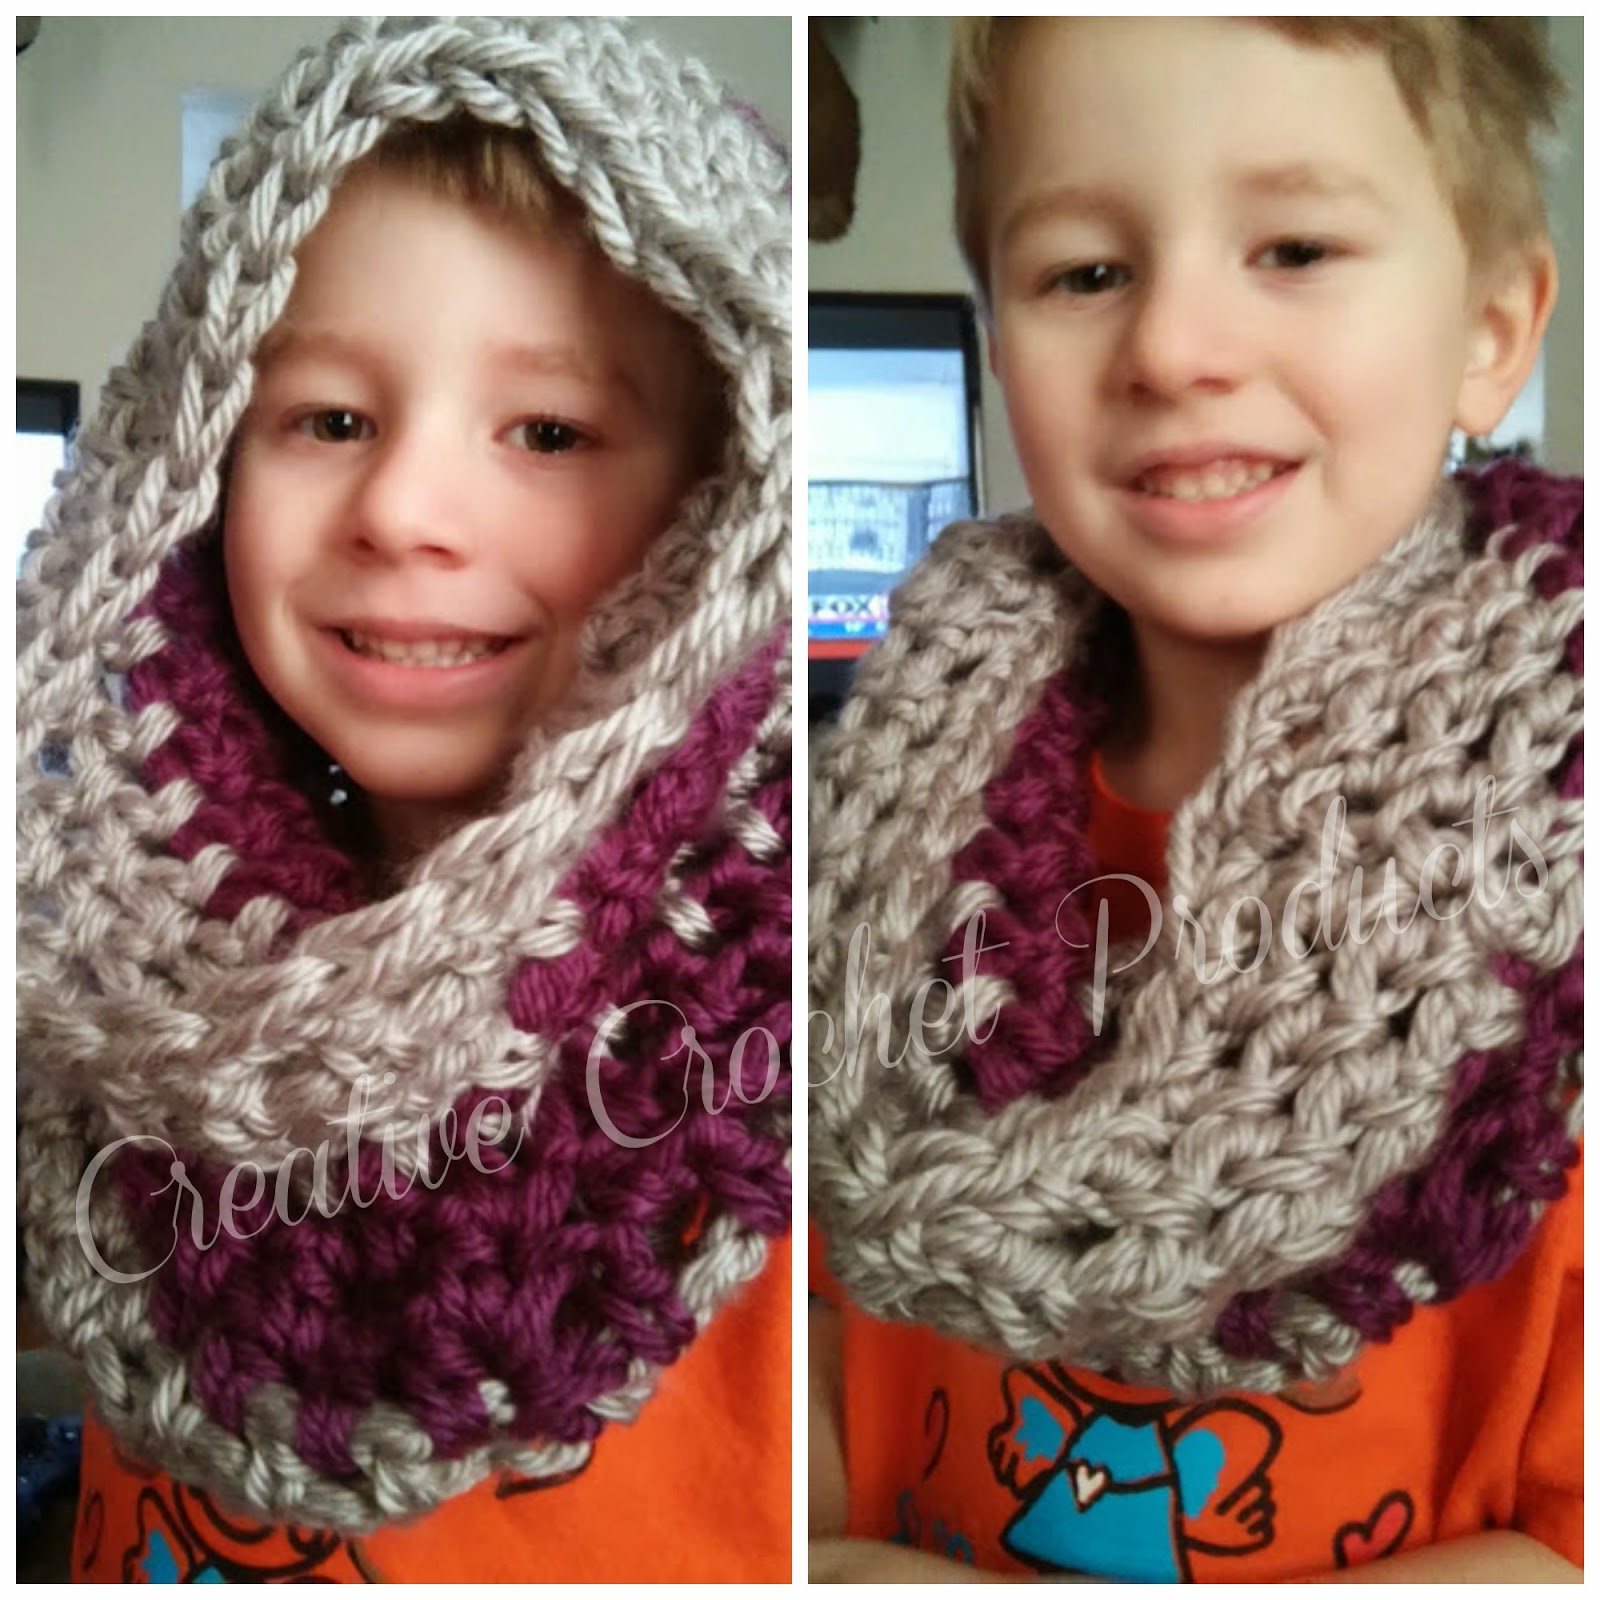
Here is my youngest son modeling this cowl hahaha. He said it was supper soft and he didnt want to take it off :) One of my biggest supporters right here!


Sunday, January 18, 2015

Quick, easy, warm & chunky scarf

For the last week it has been so cold here in Wisconsin, cold is not even the right word for it. Since the windchill has been well below zero (-35 to -45 at times) I have been driving my kids about 3 blocks to school. We have had a sickness work it's way around our house along with the school so I thought I would try to prevent them getting sick again or there fingers falling off. Keegan was the last child to not have a scarf so I sat there thinking of something super simple and quick to do (I love quick patterns; less chance of me getting board in the middle of a project). Enjoy!


Materials needed:
N hook
2 strands of your favorite worsted weight yarn (I used red heart soft)
Yarn needle to weave in ends
2 medium buttons

Stitches used: 
Ch: chain
Hdc: half double crochet

Rnd 1: with both strands ch 11, hdc in 2nd ch from hook and each across. Ch 1 turn (10)
Rnd 2: hdc in each sp across. Ch 1 turn. (10)
Rnd 3-98: repeat rnd 2
Rnd 99: hdc in 2 sp, ch 1, sk 1 sp, hdc in next 4, ch 1, sk 1 sp, hdc in last 2. Ch 1 turn. (Button holes made)
Rnd 100: hdc in each sp across and hdc in ch 1 sp. fasten off. 

Place buttons on round two one on the 3rd hdc and on the 7th.


Happy hooking! 


Saturday, October 25, 2014

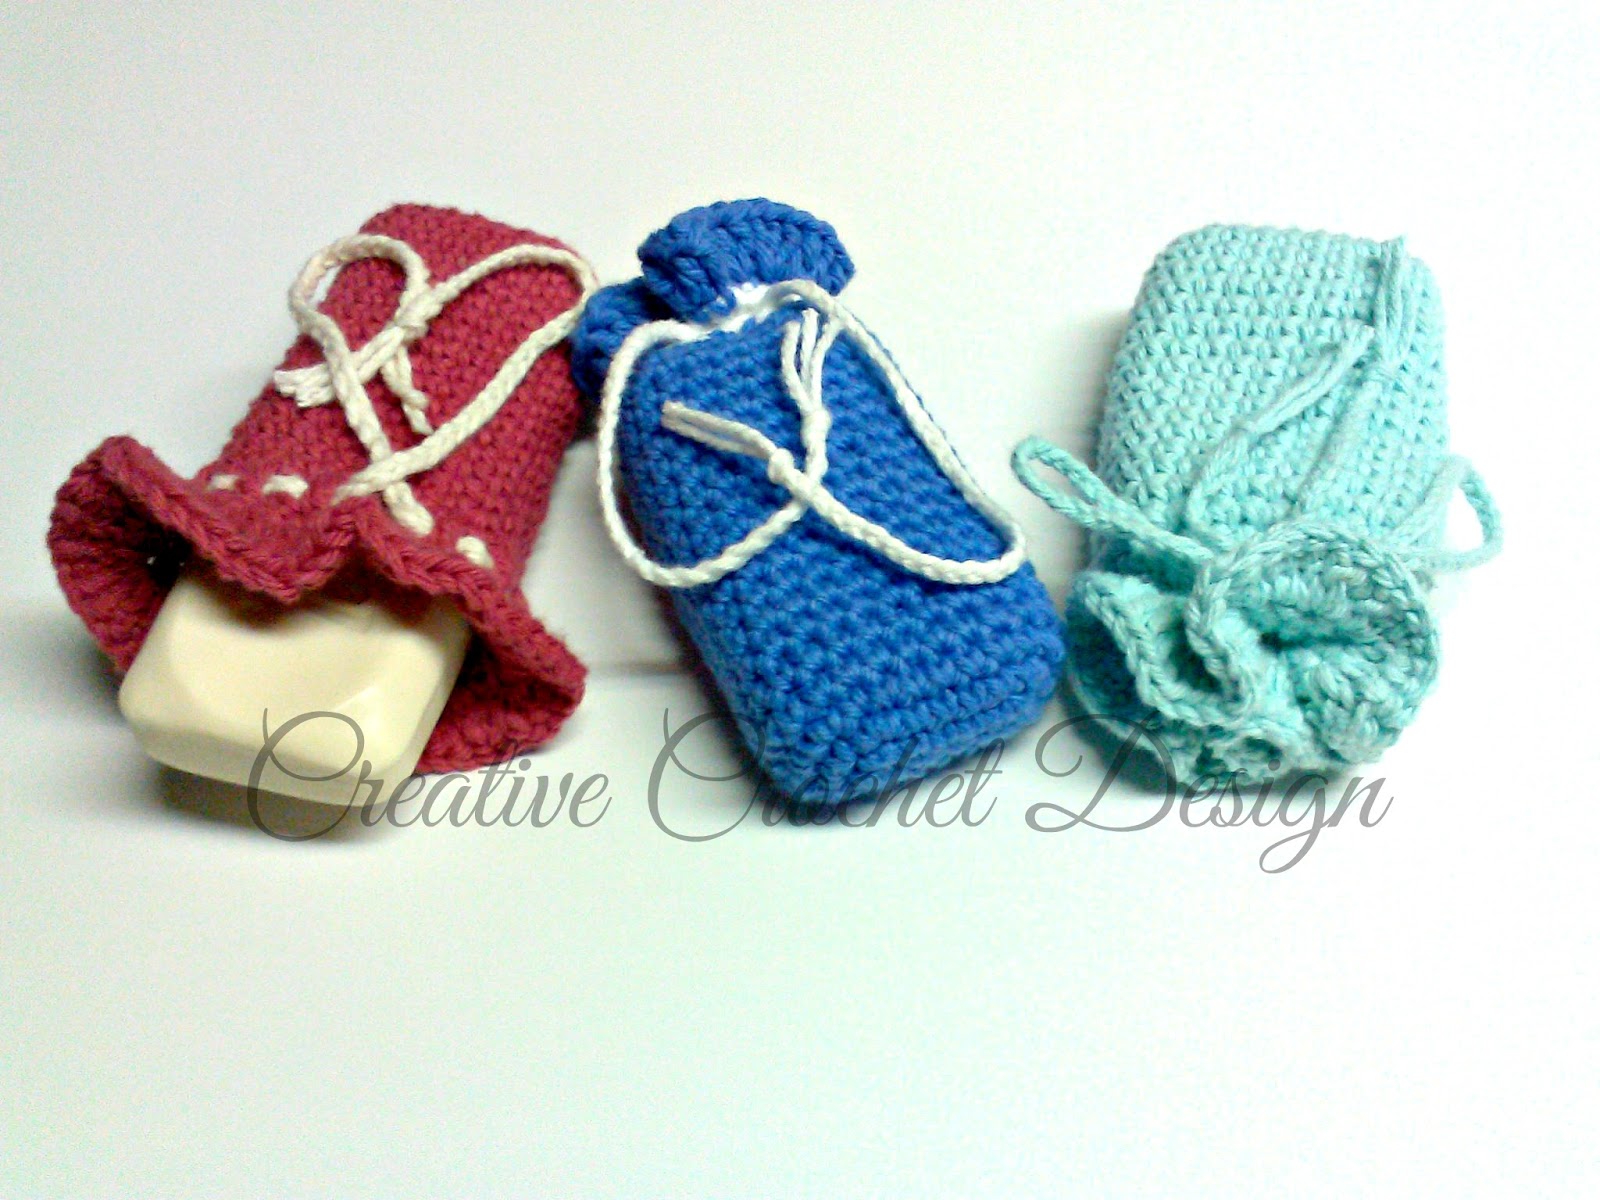
Quick and easy soap saver

Christmas is coming!!
This is a cute idea for a gift
With christmas coming here is another great gift Idea! So cute and easy to do. I loved making this pattern since it is something I have not done yet. But I think it turned out really nice :) I had my hubby test it out in the shower tonight and he said he really liked it. He said it was almost better than using a washcloth, to me this is the biggest complement coming from him!! So I shall give this pattern a A++++ ;)
Happy Hooking!
(link below)

Bar soap scrubbie.jpg

Two Faced Bulky Boot Cuffs

This name of these boot cuffs are exactly how they sound! They are two faced boot cuffs :) These are a simple and quick design I came up with. These are very easy and I designed these so you can add 2 colors that will match 2 pairs of your boots (maybe even more!) un-button and flip them so you can change your color. Also make them as tight as you need around your caves!
These are made with super bulky yarn (Lion Brand Yarn)
N hook


Sunday, October 19, 2014

Free 0-3 month Spikes & Stripes Beanie pattern!

Free 0-3 Month Spikes & Stripes pattern!
Only available on my blog, this is a sample of my full version with all sizes.


This is my first time ever doing a "sample" project to share! I know some wish they where able to test the pattern before buying it, well here it is. If you like it and need the bigger sizes please go to my Ravelry store, all sizes are included on pattern in my shop. 
Happy crocheting


Spikes & Stripes
Beanie
0-3 Months

(in all sizes!)


Materials:
 I hook/5.5mm
 Worsted weight yarn/3 colors

Stitches used:
Magic circle
Hdc: Half double Crochet
fphdc: front post half double crochet
bphdc: back post half double crochet
hdc spike: half double crochet spike: yo, insert hook in previous stitch below, pull up loop, yo,          pull   through all 3 loops on hook.
change to color A
change to color B
change to color C
Color change is in this order: Color A, Color A, Color B, Color C, Color B then repeat

Special notes:
 Always join to first stitch in each round.
 Always work first stitch in the same space as join.

Rnd 1: Color A Magic Circle ch 1, 10 hdc in circle. pull closed. Join (10)

Rnd 2: Ch 1, 2 hdc in each st around. Change to color B. Join. (20)

Rnd 3: Ch 1, (hdc, 2 hdc in next) repeat around. Change to color C. Join. (30)

Rnd 4: Ch 1, (hdc in 2 st, 2 hdc in next) repeat around. Change to color B. Join. (40)

Rnd 5: Ch 1, hdc in each st around. Change to color B. Join (40, 48, 52, 56, 64, 72)

Rnd 6: Ch 1, hdc in next st, hdc spike (hdc in 3 st, hdc spike in next sp) repeat around. hdc in last 2 sp. Change to color C. Join. (40, 48, 52, 56, 64, 72)

Rnd 7: ch 1, hdc in each sp around. Change to color B. Join. (40, 48, 52, 56, 64, 72)

Rnd 8: Ch 1, hdc in next st, hdc spike in next (hdc in 3 st, hdc spike in next sp) repeat around. Change to color A. Join. (40, 48, 52, 56, 64, 72)

Rnd 9: Ch 1, hdc in each st around. Join (40, 48, 52, 56, 64, 72)

Rnd 10: Ch 1, hdc in each st around. Change to color B. Join (40, 48, 52, 56, 64, 72)

Rnd 11: Ch 1, hdc in next st, hdc spike (hdc in 3 st, hdc spike in next sp) repeat around. hdc in last 2 sp. Change to color C. Join. (40, 48, 52, 56, 64, 72)

Rnd 12: Ch 1, hdc in each sp around. Change to color B. Join. (40, 48, 52, 56, 64, 72)

Rnd 13:  ch 1, hdc in each sp around. Change to color B. Join. (40, 48, 52, 56, 64, 72)

Ridge

Rnd 14: ch 1 (fphdc in next st, bphdc in next) repeat around. Join

Rnd 15: ch 1 (fphdc in next st, bphdc in next) repeat around. Join

Rnd 16: ch 1 (fphdc in next st, bphdc in next) repeat around. Join

Finish off and tie in ends!